
CASE 02 · HAND FINISHING
Mirror-Polish Twisted Hoops
A pair of twisted rope hoops taken from raw casting to mirror polish entirely by hand — the twist stays crisp, and the finish stays bright.
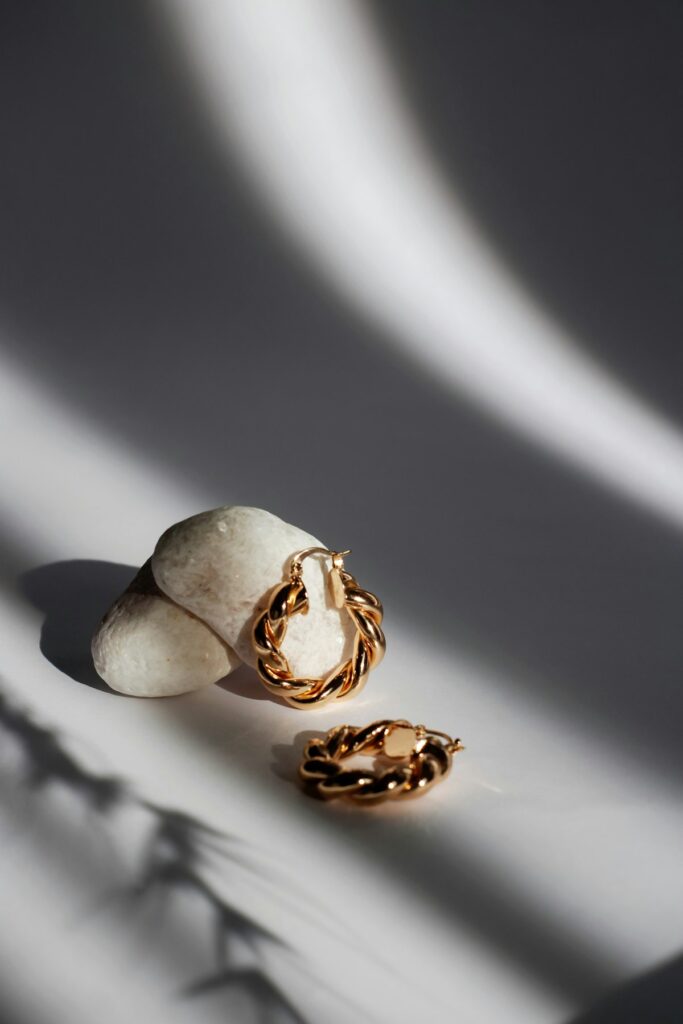
Design Challenge
The twisted rope profile is the whole design, and it is the first thing machine polishing destroys: a wheel rounds over the grooves and the rope reads as a plain band.
The design asked for a true mirror on the outside of the twist, a softer satin on the inner face, and no flat spots where the hoop closes.

Finishing bench: polish along the profile, never across it
Manufacturing Route
Casting cleanup
Sprues are cut and seams filed flat. The hoop is trued up on a mandrel so the polish starts from a round, not an oval.
Twist defining
Where casting softened the rope grooves, they are re-cut with gravers. The profile is set before any polishing begins.
Hand polish sequence
Progressively finer papers, then rouge on felt. The hoop is polished along the groove, never across it — across is what flattens the twist.
Two-face finish
The outer face is taken to mirror. The inner face is left with a fine satin, so the hoop sits against the ear without glare.
Final check
Both hoops are compared side by side under the lamp. Twist depth, closure line and finish level have to match as a pair.
Finished Result
A mirror outer face that holds a reflection, a twist that still catches light groove by groove, and a satin inner face. The pair matches — checked as a pair, not as two singles.

Finished pieces as worn
Where this piece was hardest
A twist is a structure, not a surface. The pitch of the turn and the transition at each reversal have to repeat exactly, or the two hoops stop being a pair. That is settled in the model — how many turns, and where each one lands — and then reproduced by hand, because the transition is a formed edge rather than a machined one.
Mirror polish punishes joints. Wherever a flat face meets the twisted transition, a polishing wheel can leave a step, and the step reads as a line under raking light. The sequence that avoids it is two-stage: bring the flat faces to a pre-polish first, work the transition band second, and only then run the final polish across both. Reverse the order and the line cannot be removed without changing the section.
This is also why a joint is welded rather than soldered wherever the design allows it: a smaller heat-affected zone means less filler, and less filler means less metal has to be removed afterwards to make the joint disappear. On a mirror surface, every gram taken off at a joint is a flat that has to be re-flattened.
Buyer concerns we addressed
It would, which is why the grooves are cut back with gravers and polished by hand, along the groove rather than across it. A machine cycle finds the high spots first and softens exactly the crispness the design is built on.
Mirror amplifies everything, including the preparation underneath it. The surface is worked through progressively finer papers, and the final pass follows the form of the hoop rather than crossing it.
Yes. Mirror on the outer face and satin inside is a specification, not a compromise. Each face is brought to its own finish, and the edge between them is worked last.
Pairs are worked side by side and compared under the same light before finishing is called done. A pair that matches only under workshop light does not match.
What we would tell another buyer
If the crispness of an edge is the point of the design, say so at the order stage rather than at the finishing stage. It changes the route, which steps are done by machine and which by hand, and it is usually the difference between a mirror finish and a blurred one.
NEXT STEP
Have a design that needs this route?
Send us your sketch, CAD file or a reference piece. We will map the route it needs — the same walkthrough documented above.