
CASE 03 · LASER WELDING
Openwork Flower Ring
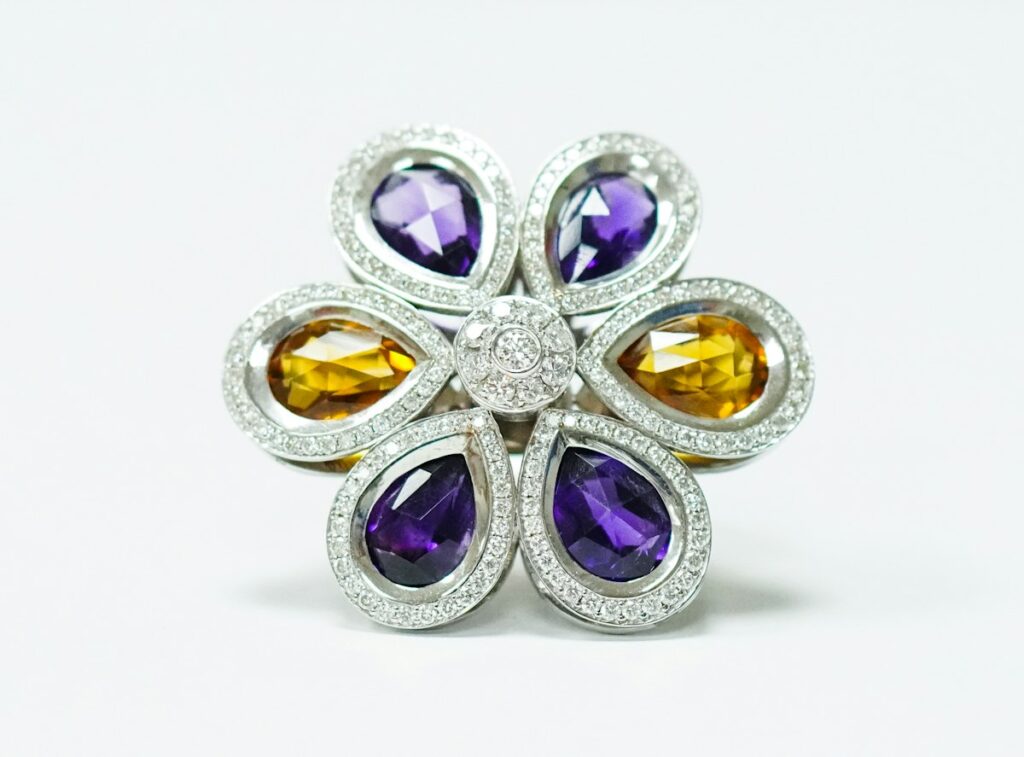
A flower built from six separate sections, joined by laser weld — openwork you can see through, with no solder joints to find.
Design Challenge
The openwork petals trap the stones if the flower is cast as one piece: the undercuts sit exactly where the amethyst and citrine centres have to go.
The design calls for six separate sections, assembled so the joints disappear into the line of the petal — and no solder, because solder shows on a polished openwork edge.
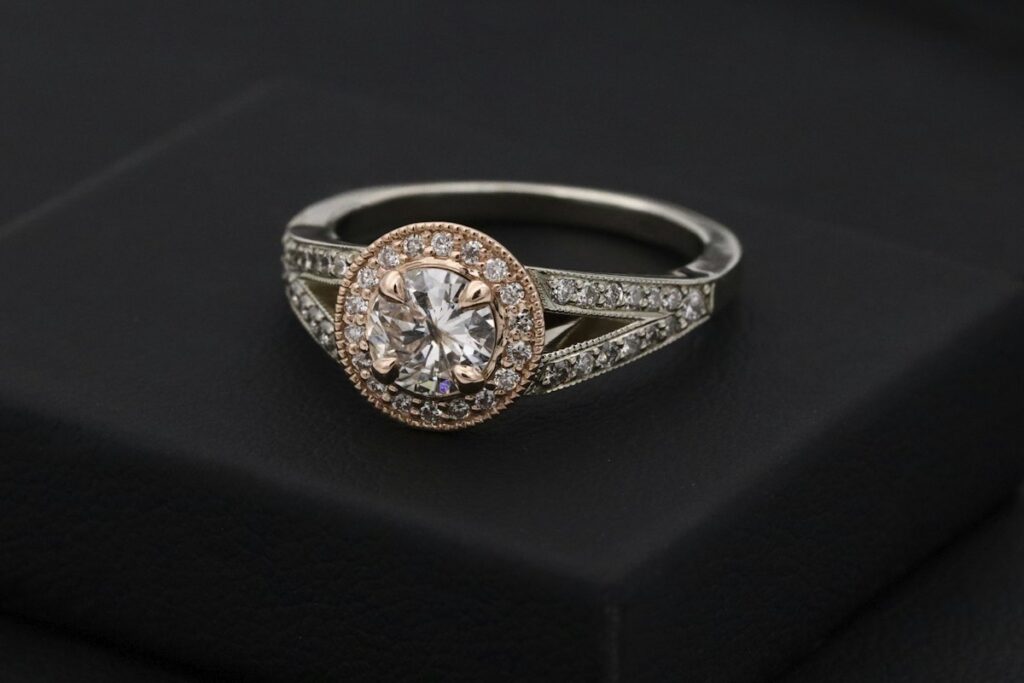
Sections are welded one joint at a time on the laser bench
Manufacturing Route
CAD and section fabrication
The flower is modelled in CAD, then cut as six separate sections in 18K — each petal machined to its final shape before assembly starts.
Trial assembly
The sections are dry-fitted and the joint gaps measured. Each section is re-filed to its joint line until the flower closes without force.
Laser welding
The 200W laser welder fuses the joints section by section. No solder, no flux — the weld pool stays small enough that the petal edge is undisturbed.
Stone setting
The amethyst and citrine centres are set into the welded seats once the flower is stable.
Joint dressing
The welds are dressed by hand under the loupe until they read as part of the petal line, then the whole piece is polished.
Finished Result
Six sections that read as one flower. The openwork is fully see-through, the welds are invisible in the line of the petal, and the two coloured centres sit flush in their welded seats.
Finished openwork on the display stand
Where this piece was hardest
Openwork puts two requirements in direct conflict: thin petals read as delicate, and a stone seat needs material to sit in. The workable order is to fix the minimum section that can carry a seat first, then decide how thin the rest of the petal can go. Done the other way round — shape first, seat later — a seat breaks through a petal that is already finished.
The ring is built as sections rather than as one casting. Each petal is formed, the pieces are trial-assembled to check angle and spacing, and only then are the joints closed. Trial assembly is the step that gets skipped under time pressure — and the one that decides whether the flower opens evenly or leans to one side.
Finishing follows the pierce. The inner edge of every opening has to be dressed before the front face is touched, because the front is the surface you cannot afford to keep re-polishing. A pierce that is beautiful on the face and rough on the inside is not finished — it is a piece that will catch light and lint in equal measure.
Buyer concerns we addressed
There is no filler alloy in the joint, so there is no colour break to detect. The seam is the same metal as everything around it, and it is dressed back before finishing begins.
A welded joint is fused parent metal, not an adhesive layer. Joint positions are placed with load in mind, and the trial assembly step exists precisely to catch a bad layout before it becomes permanent.
Files, printed prototypes and samples stay with the assigned team during development. CAD files, wax masters and fixtures are not shown or passed on without your permission.
The approved sample is the reference for any subsequent run, and the routing decisions are recorded with it, which is what makes a second batch match the first.
What we would tell another buyer
If your design has heavy piercings, interlocking forms, or stone seats tucked inside openwork, ask one question before you commit: is this cast in one piece or built in sections? The answer determines whether the seats can be cut at all, and it determines the shape of the quote. A design that has been declined as a single casting is often perfectly buildable once the routing changes.
NEXT STEP
Have a design that needs this route?
Send us your sketch, CAD file or a reference piece. We will map the route it needs — the same walkthrough documented above.